Close walls into a room and edit wall properties
Close walls into a room, name it, and adjust wall height and thickness from the properties panel.
Closing walls into a loop creates a room that can then be named and assigned a room type.
✓ Checked in the product on 20 October 2026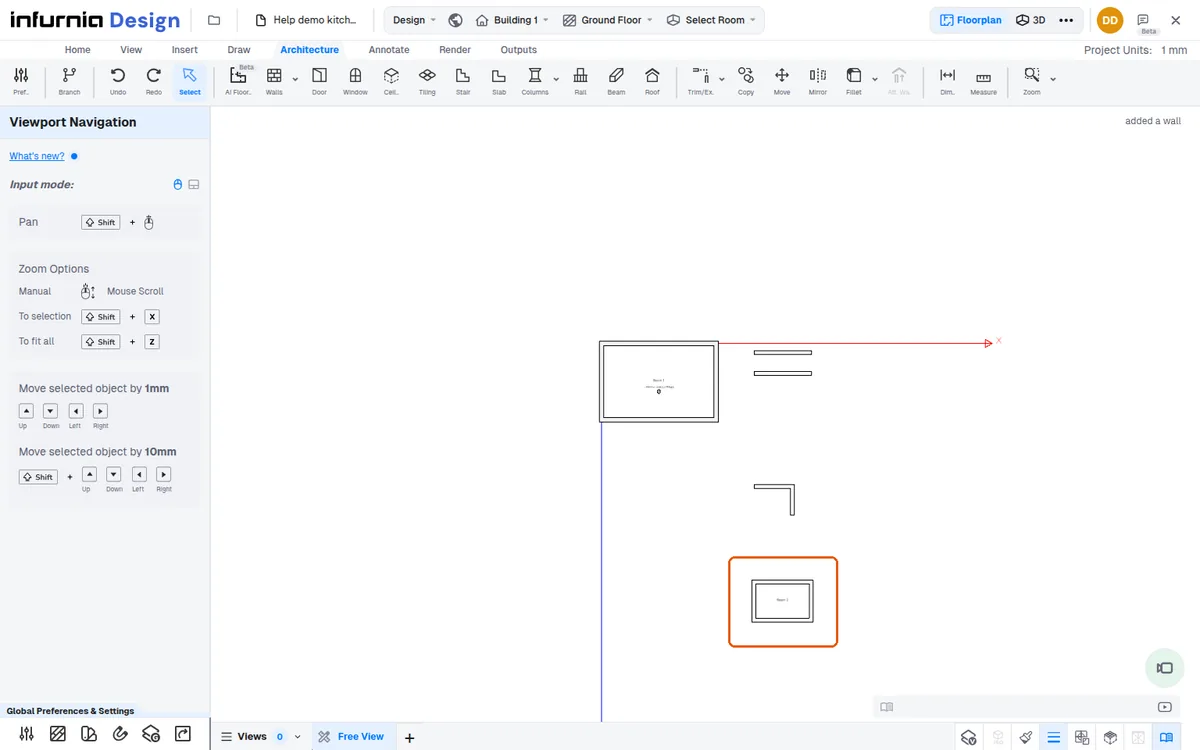
After the walls are drawn and closed into a room, you can rename the room (for example 'kitchen') to organise furniture and project data.
✓ Checked in the product on 19 October 2026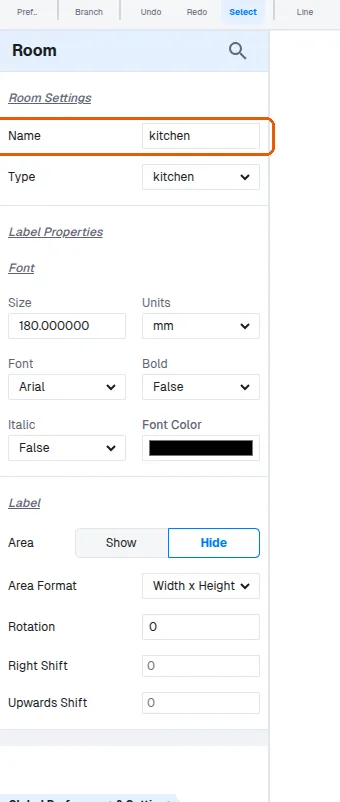
Selecting a wall opens its properties panel.
✓ Checked in the product on 20 October 2026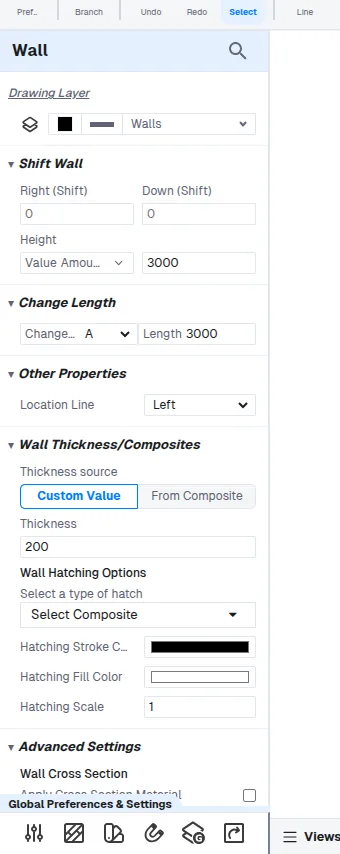
In the wall properties panel, the wall thickness and wall height can be edited directly.
✓ Checked in the product on 19 October 2026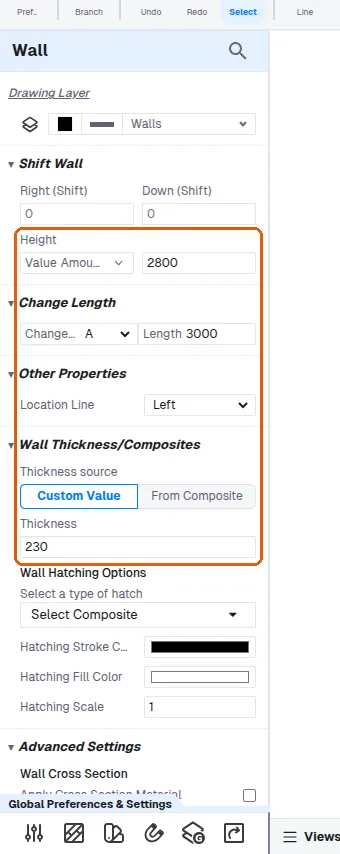
The height field shows 3000, which can be kept or changed.
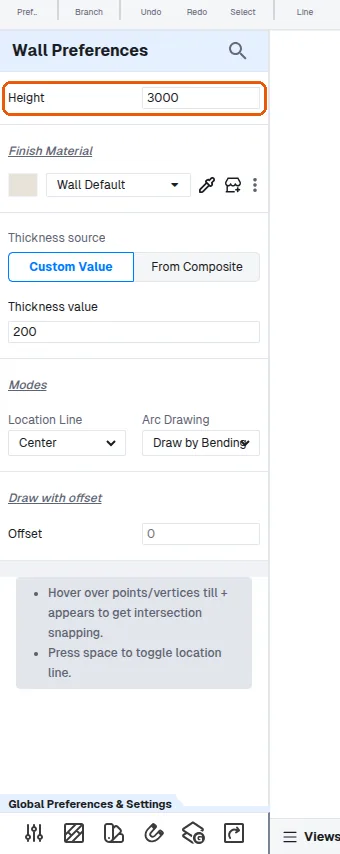
Wall height and thickness are editable from the selected wall's properties panel after drafting. That panel has no finish material row; the wall tool's settings (before drawing) carry a Finish Material.
✓ Checked in the product on 20 October 2026Wall thickness can also be changed after the walls are drawn, by editing the thickness value in the selected wall's properties panel.
A half wall can be made by drawing a normal wall and then lowering its height in the selected wall's properties panel — for example from the default 2700 to 1200 — rather than using a separate half-wall tool.
For partitions a custom thickness value can be typed in instead of choosing a preset.
✓ Checked in the product on 19 October 2026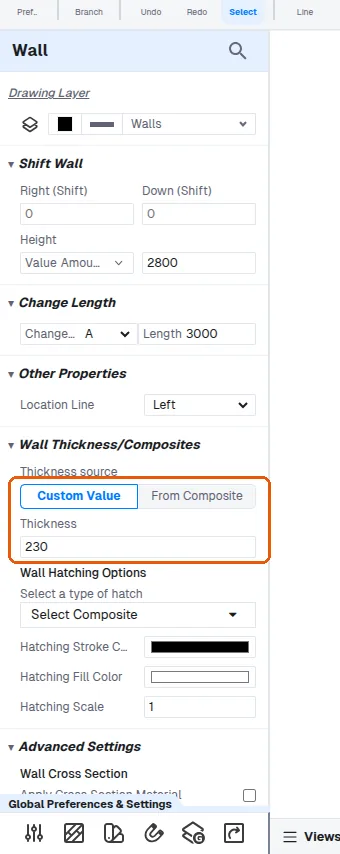
When a closed room is not available, a Room Divider can be drawn from the Walls dropdown to create the room boundary; clicking the enclosed area then lets you assign the room type and name.
✓ Checked in the product on 15 October 2026To create another room, first exit to the floor level (for example the ground floor) and select it, then activate the wall tool and draw the new room's walls.